04 Dec

The following step by step guide explains:
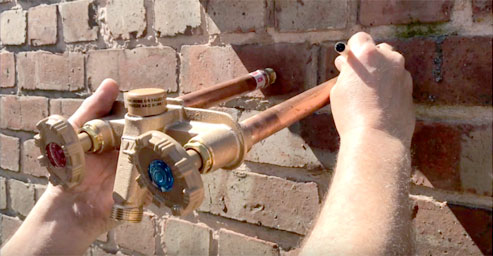
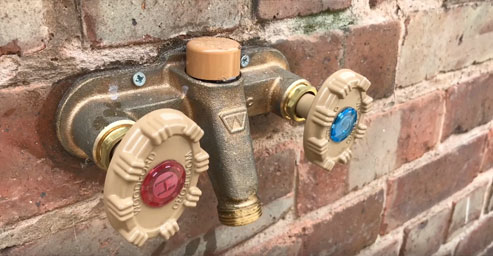
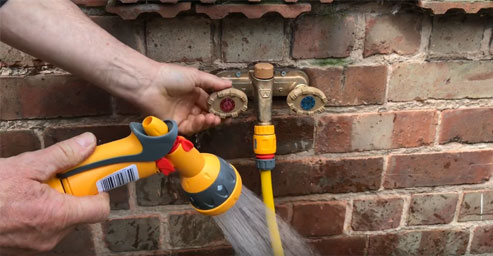
How to install the Woodford Model 22 mixer tap.
Tools needed:
1-1/8" (28mm) drill bit and Drill
6mm drill bit & 2 securing screws and rawlplugs
External silicone filler
Marker
Adjustable Spanner
Time needed: 30-60 minutes
Scroll to the bottom to see the video.
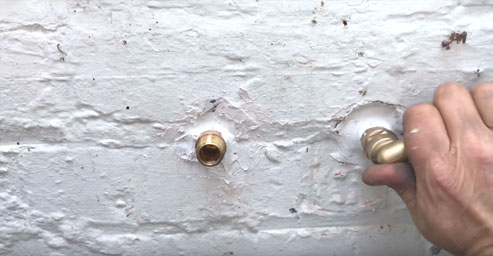
Step 1: Mark the centres of both pipes (5" or 127mm).
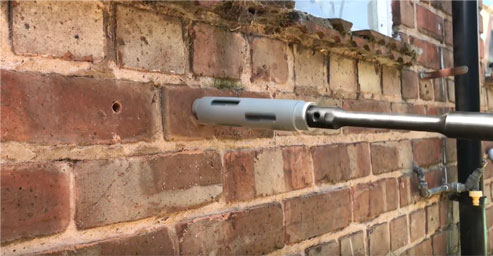
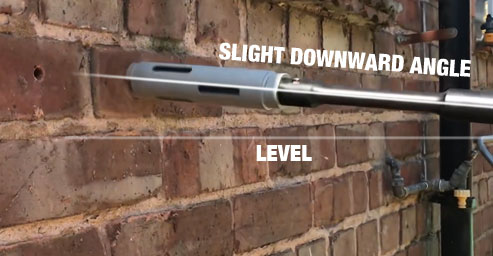
Step 2: Using a 28mm bit, drill through the wall at a slight angle. Having a slight downward pitch is essential for the tap to drain once shut off. Make sure that both drill holes are parallel.
Step 3: Insert the tap into your drilled holes and mark the position of the securing screws.
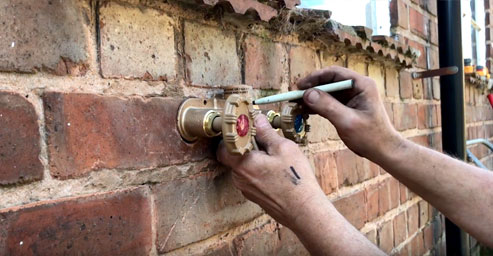
Step 4: Fit the securing screws.
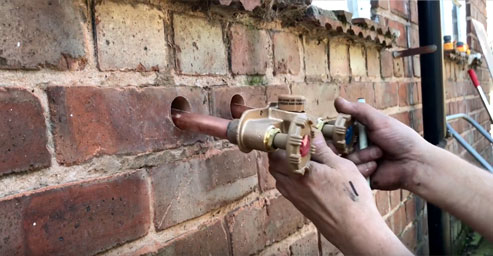
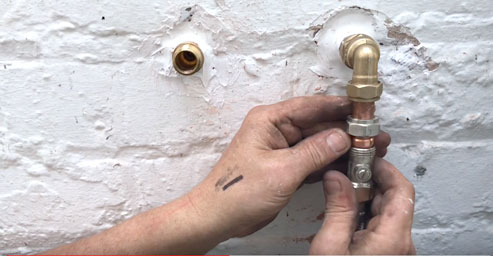
Step 5: Fill the gaps around the pipes with silicone filler. Connect to your existing hot and cold feeds using standard BSP 22mm fitting tap connectors.
Step 6: Enjoy your tap!
IMPORTANT NOTE: When shutting off the tap it will take a few seconds for the flow to stop. This is NORMAL.
The valve is at the internal end of the pipes so it takes a few seconds to clear the pipe after closing. A 24" pipe will take slightly longer to clear than a 10" pipe.
Leave a Comment